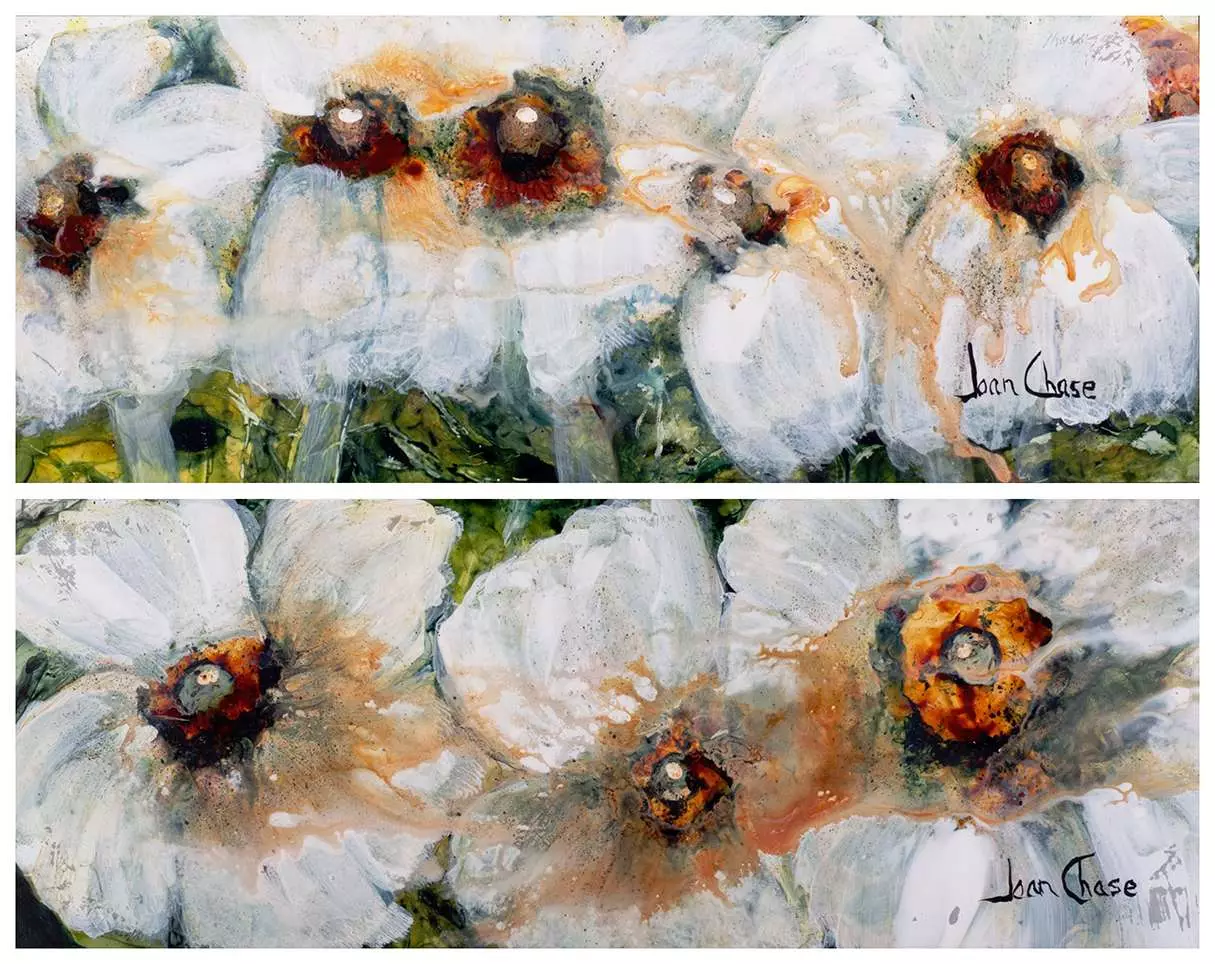
Photographing artworks can be tricky. The right lighting is key.
Photographing art can be a little bit on the technical side of photography, but it actually is not too difficult if you have the proper gear and know your equipment. Below are some tips to help you take great photos of art.
Use Studio Lighting
For photographing art pieces, specifically paintings I use two studio strobes at 45-degree angles. One on the right and one on the left. The light should be equal distance from the artwork and should have a matching power output. You will need to meter all areas of the painting to ensure even lighting. Make adjustments as needed.
I use a softbox on the strobes. This gives me a nice, soft light that evenly illuminates the artwork.
Choose The Right Lens
You will want to use an 85mm lens or even longer. There should be absolutely no distortion and the longer the lens the less distortion created. The goal is to create a perfect rendition of the artist’s artwork and should not be open for interpretation.
Use a Tripod
Using a tripod is an absolute must when photographing art. The camera needs to be absolutely flush with the piece you are photographing. Use your tripod levels to make sure everything is straight. If the artwork is hung on a wall, use the tripod to get the camera as close to the wall as possible.
Shutter Speed
Shutter speed won’t really matter because you are on a tripod. You will want something slow enough not to be faster than your strobe lights, but not too slow either. 1/100 is generally a good shutter speed.
Use Manual Mode
When photographing art you will want to be in full manual mode. This allows you to have complete control over your exposure. You will want to meter for the mid-tones in the painting and then make adjustments from there.
Take Your Time
Art photography is not a race. Take your time and make sure you get the shot you want. Carefully inspect your images after each take and make adjustments as needed.
Depth of Field is Essential
The resulting image needs to be sharp. Use an aperture around f16 to ensure the edges are just as sharp as the center of the image. Another reason why you will want to use studio strobes to be able to achieve proper exposure. Shooting at f16 with a low iso can result in the need for a long exposure.
Perfect White Balance
The white balance needs to be perfect. If you know the white balance of your studio lights set your camera’s white balance to the proper color temperature. Do not use Auto White Balance – set for 5500k if you are not sure of the color temperature.
No “Grain” or Noise
Shoot at your lowest ISO to avoid any camera noise. The texture of the work should be visible not the artificial texture of the photograph.
Take Multiple Exposures
When photographing art it is always best to take multiple exposures. This allows you to choose the best image after reviewing all of them on your computer. Each time make sure the artwork is in the same position and that nothing has moved.
Post-Processing Artwork Photos
After you have taken all of your photos it is time for post-processing. I like to use Adobe Bridge for all of my post-processing. You can use whatever program you are comfortable with.
The first thing I do is import all of the photos into my program. I then go through and select the best image. Once I have selected the best image I start making adjustments.
I start by adjusting the white balance. This is essential to get the perfect color in your photo. I then move on to exposure and make sure the image is perfectly exposed. If not, I make the necessary adjustments.
From there I move on to contrast and clarity. I like my photos to have a bit more contrast and clarity than a photo straight out of the camera. I make adjustments until I am happy with the results.
The last thing I do is sharpen the image. This brings out all of the detail in the artwork and makes the photo pop.
The great thing about this setup is once you have your settings dialed in you can apply it to all the images.
Conclusion
Photographing art can be a bit tricky, but with the proper gear and technique, it is not too difficult. Use studio lighting, shoot in manual mode, and use a tripod for sharp images. Be sure to meter for the mid-tones and set your white balance properly. Lastly, take your time to get the shot you want.


0 Comments