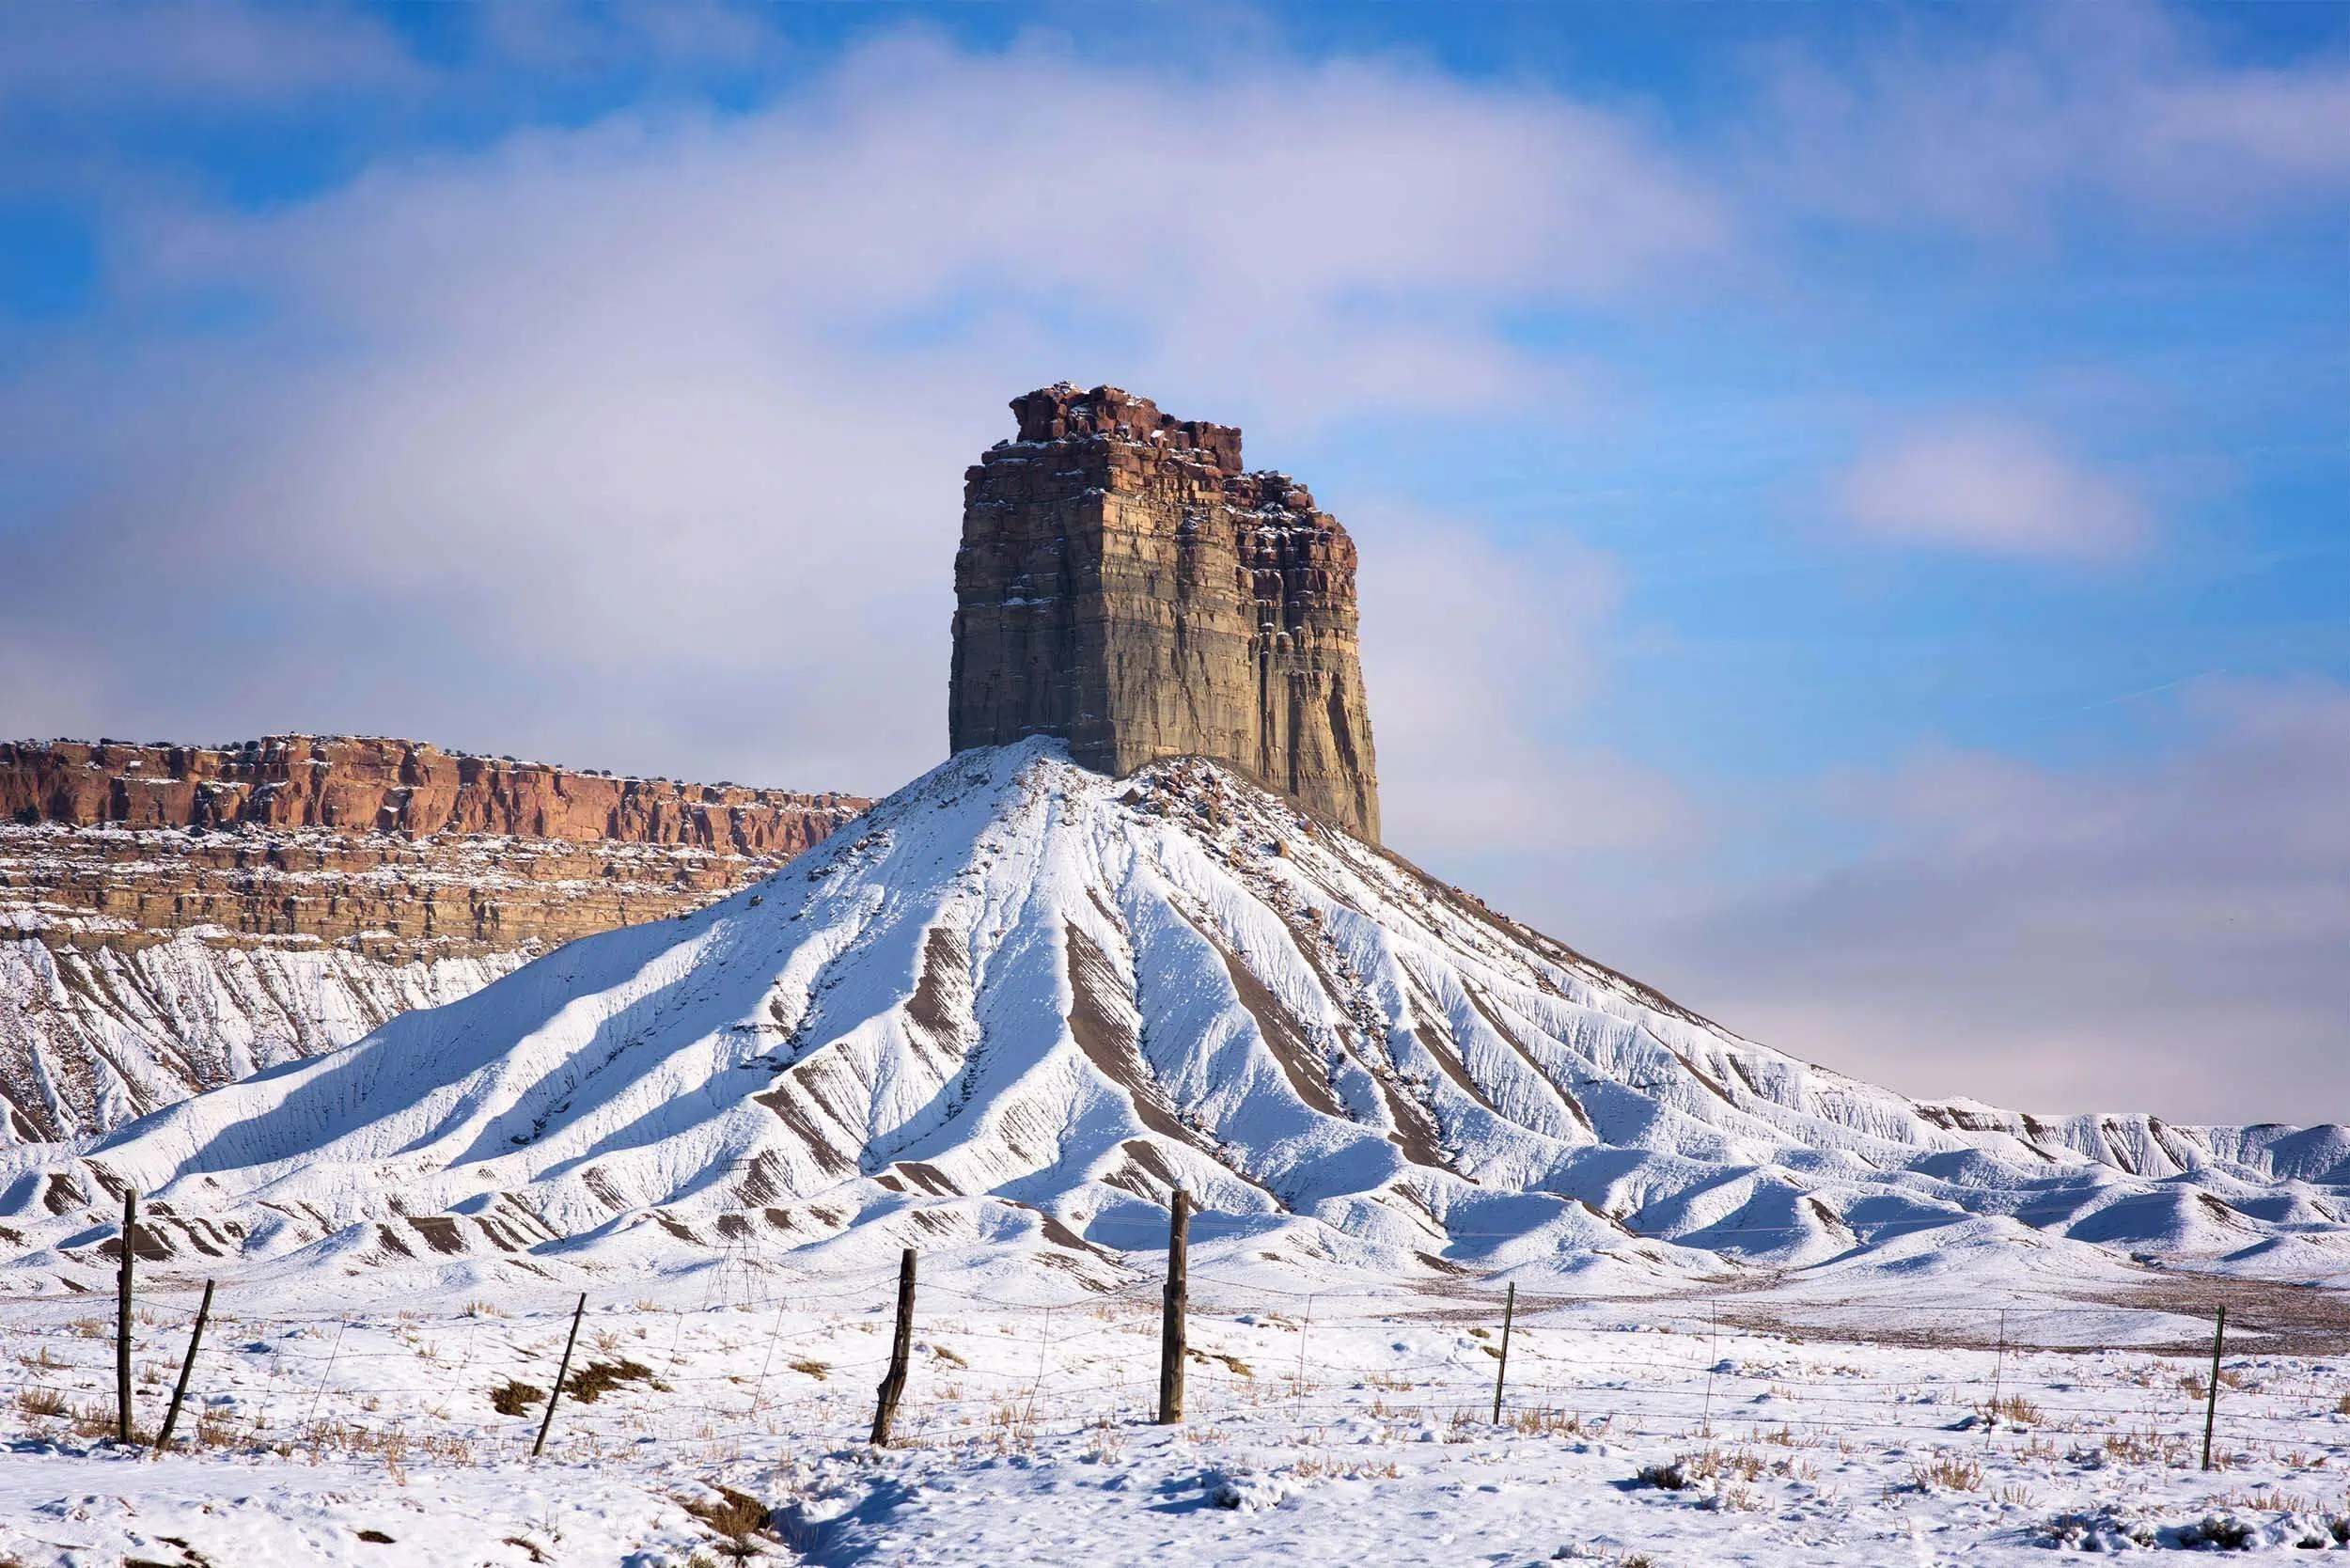
Better Winter Photography
There is no denying that winter is upon us. It’s cold outside and there is white stuff all over the ground. If you live in Winnipeg like me you are acutely aware of the challenges winter offers. It seems like summers in this town are so great and winter well, that is just the price we pay for great summers. Photographing a winter landscape can provide many challenges. However, the benefits of great photographs far outweigh the challenges one has to go through.
First and foremost, you need to protect your gear from the elements. I cannot stress enough how important it is to keep your camera and lenses dry and clean. Snow and cold can wreak havoc on your equipment if you’re not careful. A good rain cover or simply keeping your gear in a bag until you’re ready to use it can make a big difference.
Here are my 6 tips that will help you improve your winter photography.
1. Proper Exposure
Cameras use reflective metering in order to gauge the proper exposure for a scene. In order to do this, they use a calculation that assumes a proper exposure should have 15% grey (tones) in the photograph (there is a large debate about this some say 18% others say 12% I halve the difference at 15%). When a scene contains an abundance of white the camera will incorrectly adjust causing the resulting image to be underexposed. There are two easy solutions to the problem. The best solution is to use a handheld light meter that uses incident metering (they all do) and your exposures will be bang on every time. Now if you do not have a handheld meter you want to increase your exposure compensation by about 1 stop or +1 in your camera menu. This will get you pretty close to the proper exposure and feel free to experiment. Pixels are cheap after all.
2. Use Directional Light
Somewhere along the line, someone came up with a rule in photography that the sun should always be at your back. One of the biggest mistakes you can make in photography is having your light source directed at the front of your subject. This is called front lighting it provides flat low contrast images without any tone or detail. If you want to produce a very unremarkable photograph use front lighting. With this in mind, snow is very easy to capture without tone and texture if you are not using available light to your advantage. For instance, if you use side lighting (sun from the side) you will be able to see all the detail of the snow. If you use backlighting you will see great light patterns reflecting and illuminating the surface. Alter your angles and you will see the different variations that this can produce.
3. Try Not to Photograph in the Middle of the Day
The middle of the day is the worst time to photograph anything because the difference between shadows and highlights is so great you cannot capture them properly in a single exposure (and yes I am well aware of HDR before that comes up in the comment stream). Your shots will usually have a blown-out sky (white) and underexposed shadow (black) leaving only the middle tones in the photograph.
Try to photograph in the early morning or evening for the best results.
4. Use a Polarizing Filter
The winter really has great blue skies that are not seen in other seasons. I think most people don’t notice them simply because they are too busy slipping around in all the snow and ice, watching where they are going. I do not have this problem, but I bet they also don’t walk into as many trees or poles as I do either.
Now back to polarizing filters. A polarizer works by allowing only straight wavelengths of light to pass through the filter allowing you to preserve the natural color of light. They eliminate reflections. If you use a polarizer you can preserve the blue sky in your photographs.
A word of caution here they do reduce the amount of light that enters the lens so you will have to use a longer shutter speed or open up your aperture. If you are using a zoom lens at its widest setting the effect is most noticeable.
5. Use a Tripod
It never ceases to amaze me how much people will pay for a camera and how little they will spend on a decent tripod. When you use a tripod your photographs are almost always inherently better. You can use longer exposures, and smaller apertures, your images will be straight and most importantly it gives you the control to truly exercise your craft.
A tripod is an investment that will last you a lifetime.
6. Bring Extra Batteries
This should go without saying but the cold weather will drain your batteries quicker than normal so be sure to bring extras.
Bonus Tip: Dress Warm!
One of the best ways to enjoy your time outside in the winter is to dress warm! This means layers, gloves, a hat, and a warm coat. If you’re not used to dressing for cold weather, it can be a bit daunting, but once you find the right gear, you’ll be able to enjoy all your favorite winter activities without feeling cold.
Conclusion
Use these six tips and I guarantee your winter photographs will be much better than they were. Take the time to experiment with different techniques you might be surprised with what you can come up with. And never be afraid to break the rules, that’s how great photographs are made.
Sign up for our free photography newsletter and never miss another article like this!
Have A Question? Leave a comment. I am always happy to help.


0 Comments