Do you love the beauty of nature? Capturing its magnificence through landscape photography can be a very rewarding experience. This blog post will provide tips for taking breathtaking landscape photos and answer everything you wanted to know about landscape photography.
Whether you are shooting in a National Park, at the beach, or in the mountains, our best landscape photography tips will help you capture the natural beauty of your surroundings!
What is Landscape Photography?
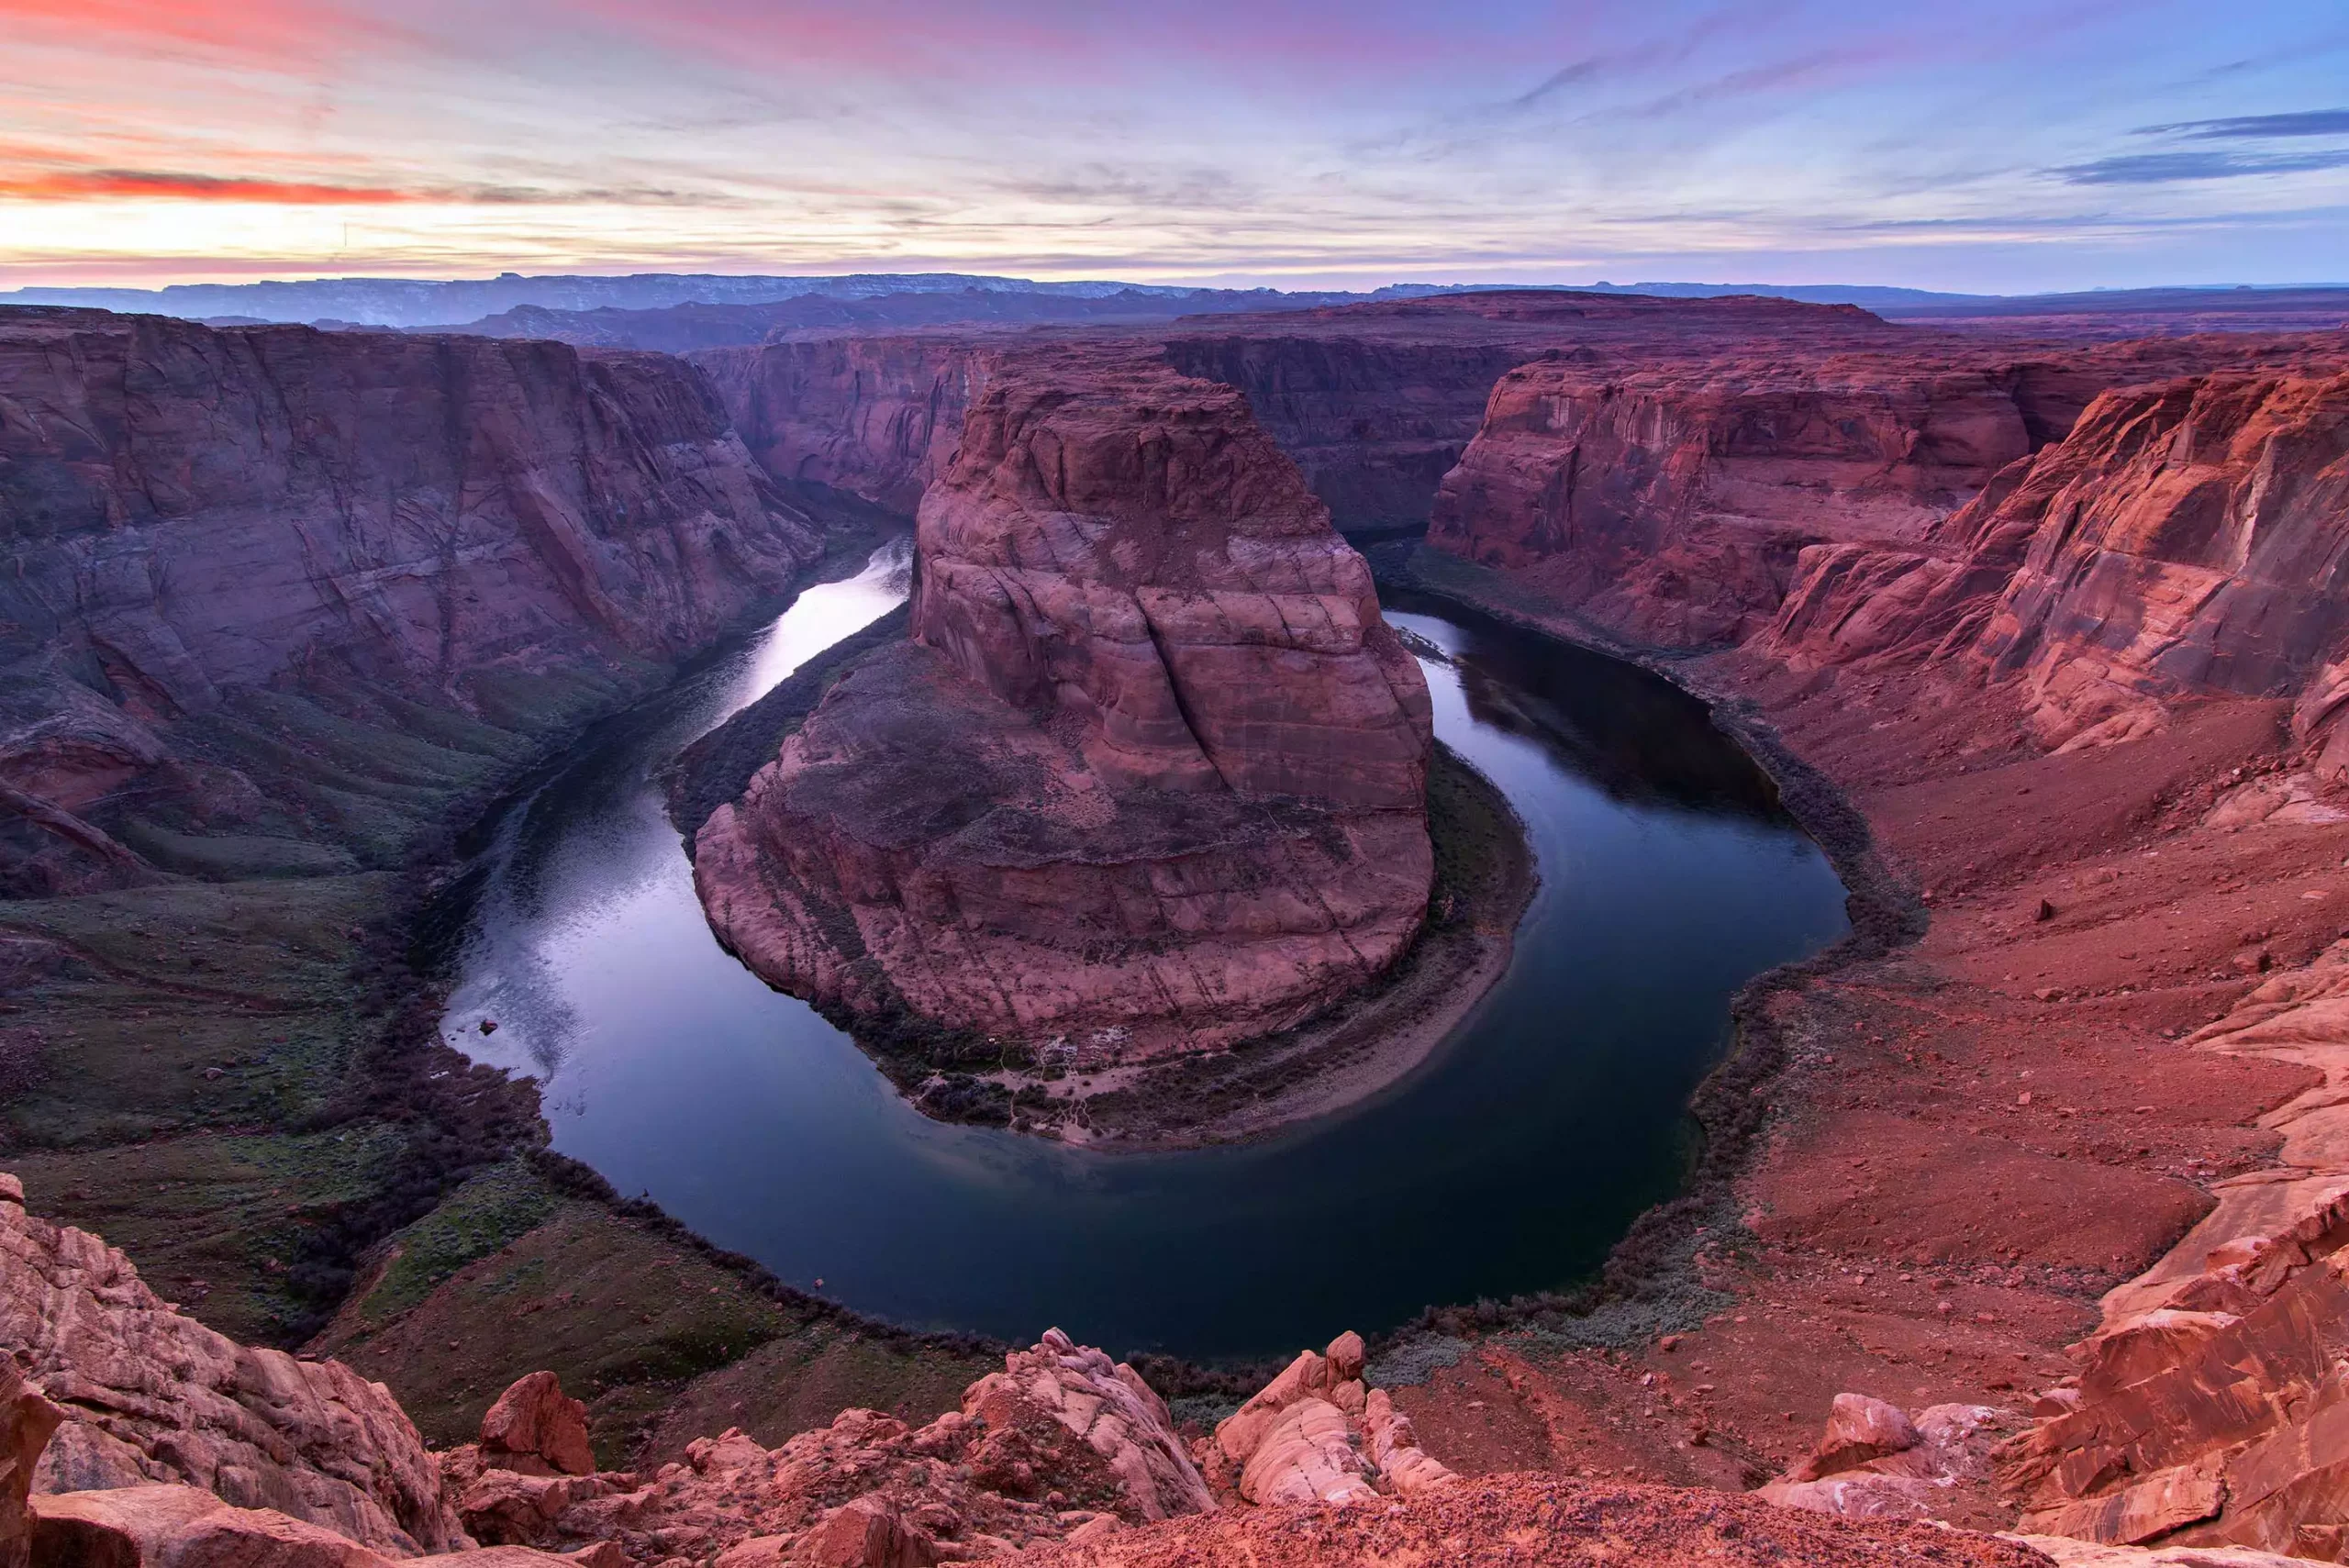
Landscape photography is a type of photography that captures the natural beauty of the outdoors. It can include anything from mountains and forests to rivers and lakes.
Landscape photographers often try to capture the feeling of being in nature, rather than simply taking a picture of a scene.
This type of photography can be challenging, as it requires an understanding of both composition and light. However, when done well, landscape photography can be truly stunning.
Composition is The Most Important in Landscape Photography
When taking landscape photos, one of the most important things to consider is composition. This includes elements such as the placement of the horizon, leading lines, and focal points.
A good composition will help to create a visually appealing photo that draws the viewer in. Try to experiment with different compositions to see what works best for you. A great place to start is the rule of thirds.
What is the Rule of Thirds?
The Rule of Thirds is a compositional guideline that suggests that an image should be divided into thirds, both horizontally and vertically, so that there are nine parts. The four points where the lines intersect are considered to be ideal placement for certain elements, such as a subject’s eyes or the horizon.
The theory behind the Rule of Thirds is that by placing these elements off-center, the image will be more visually interesting and pleasing to the eye.
While the Rule of Thirds is not a hard-and-fast rule, and there are certainly exceptions, it can be a helpful tool for those who are just starting out in photography. By following the Rule of Thirds, you will likely create more dynamic and appealing images.
Shoot at the Right Time of Day
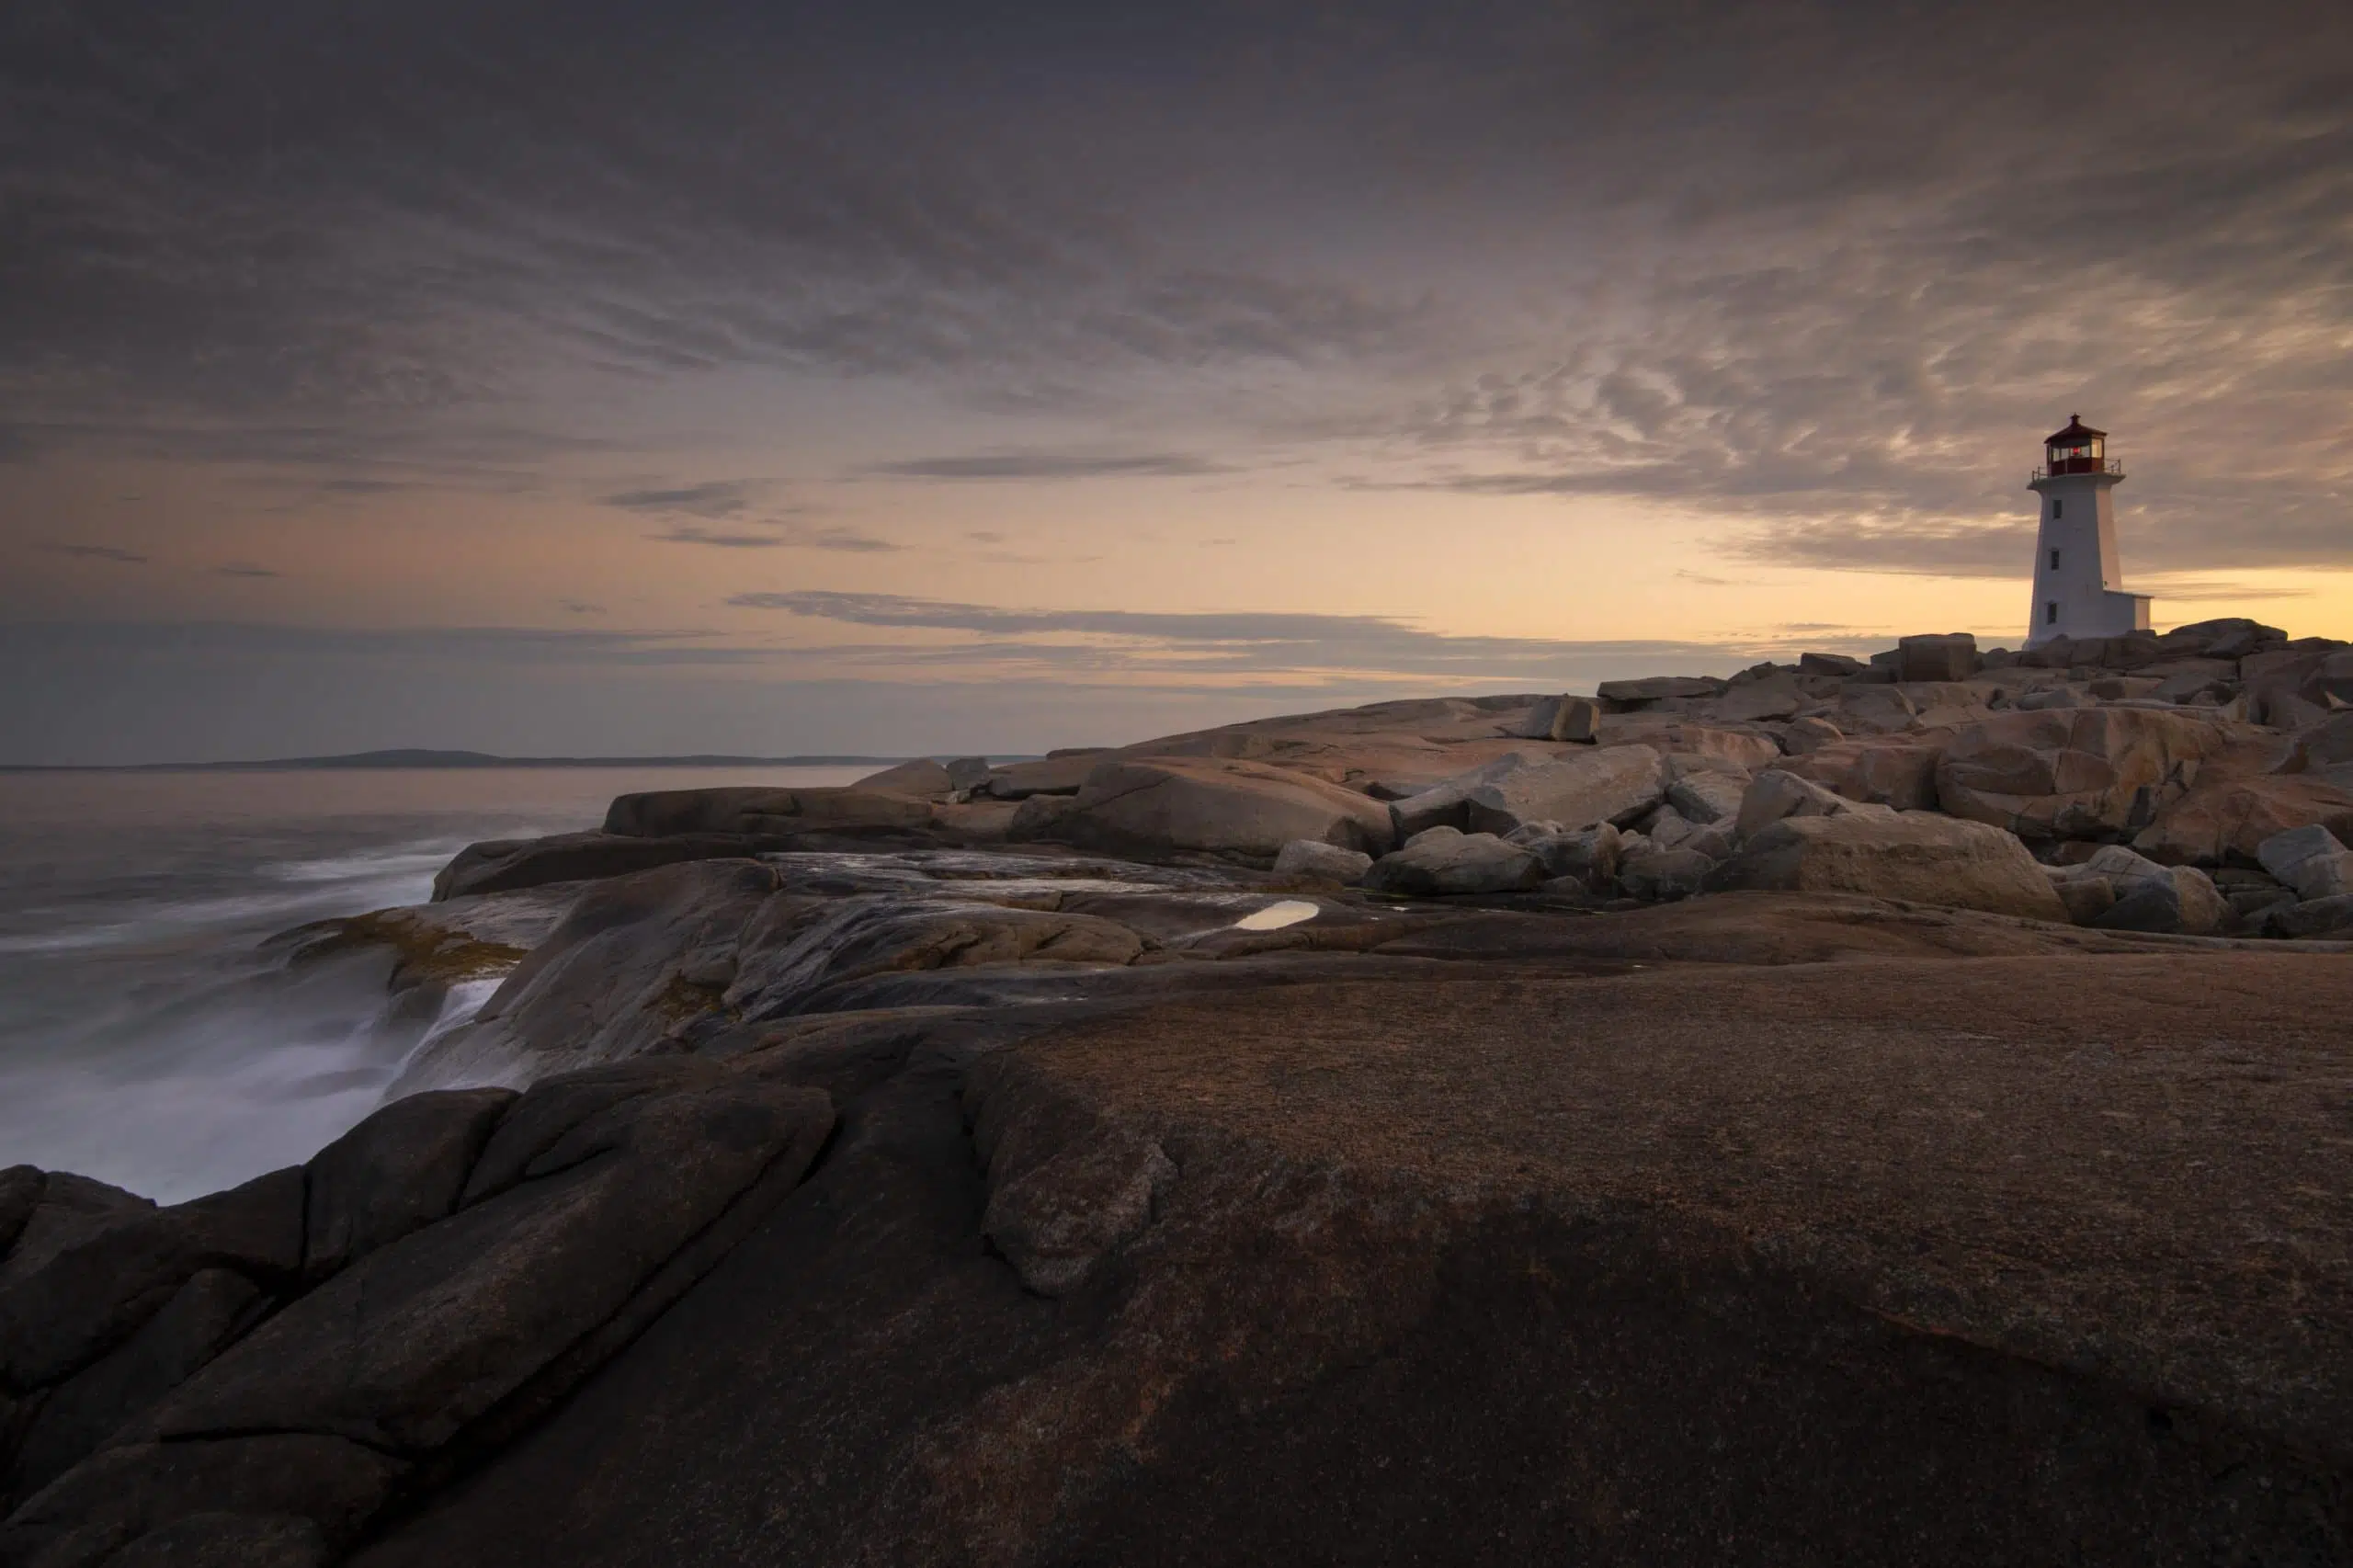
Another important tip for taking landscape photos is to pay attention to the light. The quality of light can have a big impact on your photos and changes throughout the day
Shooting in the early morning or late afternoon will often give you the best light for landscape photography. This is because the sun is lower in the sky, creating softer and more flattering shadows.
Shooting in the mid-day is generally to be avoided, as the light is not ideal.
More on the best times of day for landscape photography:
Sunrise Photography
There’s something special about a sunrise. Whether it’s the way the light gradually increases, casting a warm glow over everything, or the way the colors seem to explode in the sky, sunrise is always worth photographing.
For photography enthusiasts, a sunrise provides an opportunity to capture some truly breathtaking images. The key is to be patient and wait for the perfect moment. And when that moment comes, you’ll be glad you took the effort to head out for sunrise.
Sunset Photography
As any photographer knows, a good sunset shot is all about timing. The key is to be at the right place at the right time, with your camera ready to go.
Of course, even if you’re in the right place at the right time, there’s no guarantee that you’ll get a great shot. But if you’re patient and keep trying, you just might get lucky and capture a beautiful sunset.
Whether it’s a glowing orange horizon or a brilliant red sky, there’s something magical about a sunset that just can’t be captured in words. So next time you see a sunset, don’t just take a picture–stop and enjoy the view.
The Blue Hour
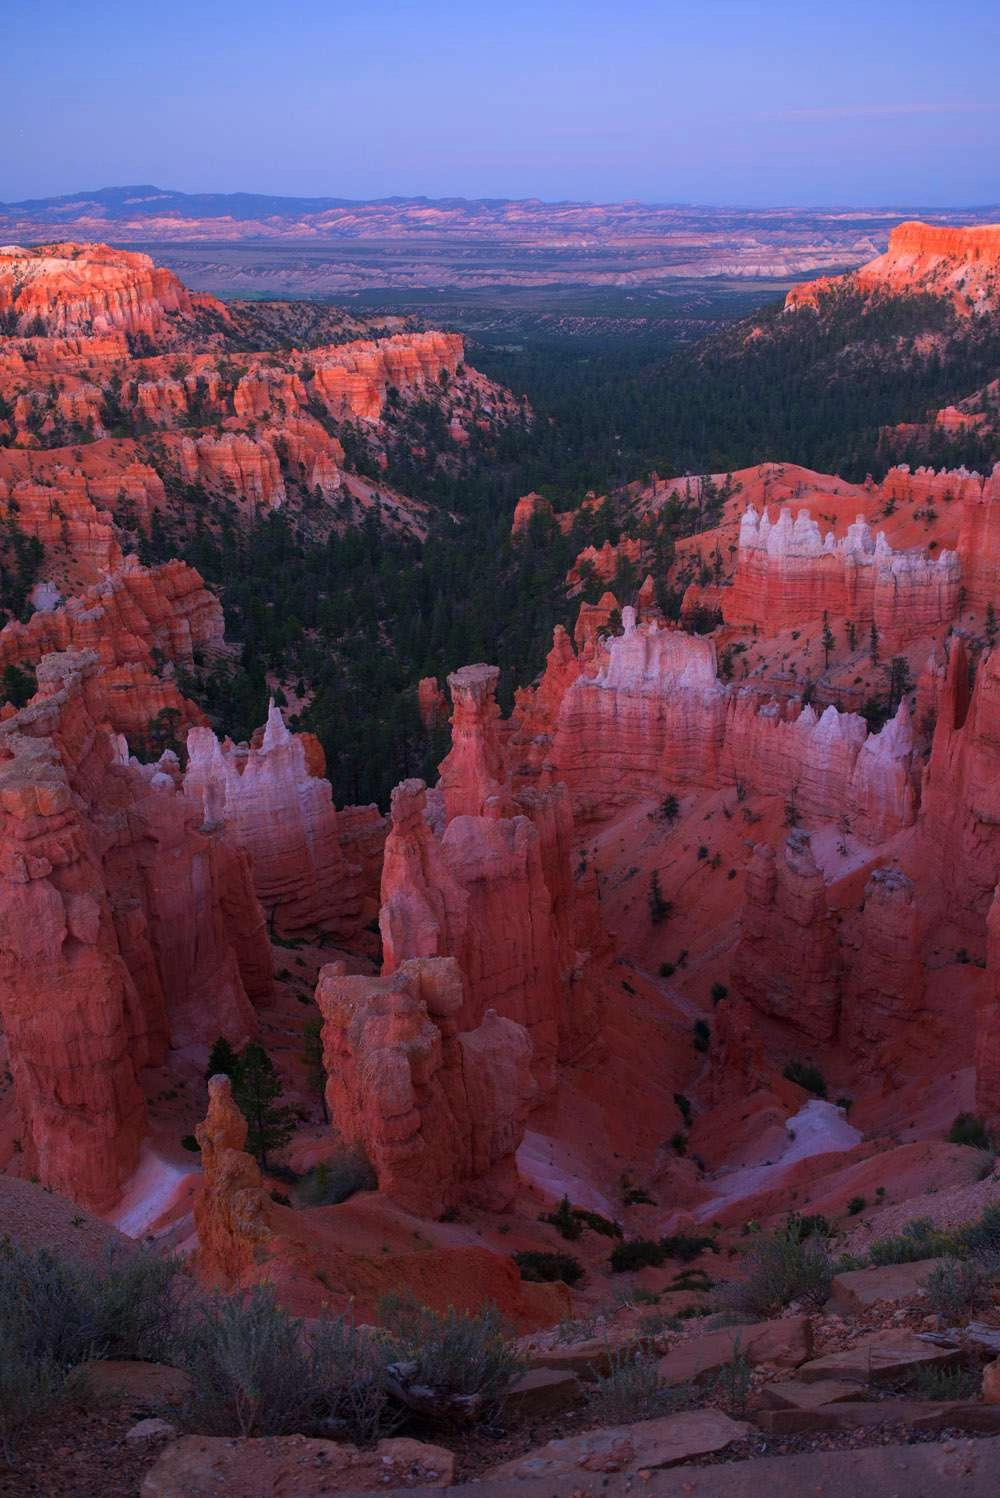
The blue hour is loved by professional photographers. The term is used to describe the period of twilight each day when the sun is below the horizon and the sky takes on a deep blue hue. This magical time typically lasts for about 20 minutes, during which time the world takes on a surreal quality.
The blue hour is an ideal time for photography, as the low light levels create a soft, ethereal glow. For landscape photography, the blue hour can be used to capture the beauty of the natural world in a unique way.
So next time you see the world bathed in blue light, be sure to take advantage of the opportunity and snap some photos.
The Golden Hour
The golden hour is a photography term that refers to the time shortly after sunrise or before sunset when the light is soft and warm. This is an ideal time for taking pictures, as the light can help to create a beautiful, natural-looking scene.
The golden hour is also a popular time for taking nature photography, as the warm light can help to bring out the colors of the landscape. However, it’s important to keep in mind that the golden hour doesn’t last very long, so it’s important to be prepared and know where you want to take your photos in advance. But if you’re able to make the most of the golden hour, you’ll be rewarded with some stunning photography.
F8 and Forget It
When it comes to aperture, landscape photographers often like to use a small aperture (high f-stop number) to get a large depth of field. This means that more of the scene will be in focus, from the foreground to the background. This can be helpful when you are shooting grand landscapes with lots of different elements.
However, it is important to remember that using a small aperture will require a longer shutter speed. This means that you will need to use a tripod to keep your camera still. Otherwise, you risk getting blurry photos.
So, shoot at F8 it’s usually the sweet spot in any lens. You will get sharp images full of contrast and color.
Use a Tripod for Landscape Photography
When it comes to landscape photography, tripods are essential. With a tripod, you can take sharp, clear photos that capture the beauty of your surroundings.
Tripods also give you the ability to take long exposures, which can capture the movement of the clouds or the flow of a river. And if you want to shoot in low light conditions, a tripod will help you avoid camera shake and get the best possible results.
While tripods can be expensive, they’re worth the investment if you’re serious about photography. So, if you’re heading out into nature to take some pictures, make sure you bring along a trusty tripod.
The Lower the ISO the Better the Quality of Your Landscape Photos
If you’re new to photography, you may not be familiar with the term “ISO.” ISO is short for International Organization for Standardization, and in photography, it refers to the sensitivity of your camera’s sensor to light.
The lower the ISO number in your camera settings, the less sensitive your sensor will be, and as a result, you’ll usually get a higher-quality image.
When taking landscape photos, it’s generally best to keep your ISO low in order to avoid graininess and other potential issues. Of course, there are always exceptions to the rule, so experiment with different settings and see what works best for you.
With a little practice, you’ll be taking beautiful landscape photos in no time.
Experiment with Camera Filters
If you’re new to photography, experimenting with different camera filters is a great way to learn more about the art form. There are a variety of filters available, each of which produces a different effect.
Use an ND Filter to Blur Movement
ND filters are designed to reduce the amount of light that enters the camera lens, which can help to blur out fast-moving objects and create a smoother overall look. In addition, ND filters can also be used to create long exposure effects, such as light streaks or star trails.
So, if you’re looking to create some really interesting effects in your landscapes try an ND filter.
Use a Graduated Filter for Sunsets and more
In landscape photography, a graduated filter is a tool that can be used to darken skies and other bright areas while leaving the rest of the image unaffected. This can be especially useful when shooting sunsets or landscapes with a lot of contrast.
Graduated filters come in a variety of sizes and densities, so you can experiment to find the look you’re going for.
To use one, simply attach it to the front of your lens and then point the camera towards the bright area you want to darken. Adjust the filter to block out some of the light, resulting in a more balanced exposure.
So next time you’re out shooting, don’t forget to bring along a graduated filter for those tricky shots.
Use a Polarizer for Deep Colors and Fewer Reflections
If you’re a photography enthusiast, then you know that one of the keys to getting great shots is to control the light. And one way to do that is by using a polarizer.
Polarizers work by reducing reflections and increasing the contrast between light and dark areas. This can result in richer, more saturated colors. And it’s especially effective when shooting things like blue skies or bodies of water. So, if you’re looking to add some punch to your photos, reach for a polarizer.
How do Polarizing Filters Work?
Polarizing filters work by blocking stray light waves and allowing straight light waves from entering the camera. By doing this, polarizing filters can help to reduce glare and improve contrast.
They are especially useful when shooting photos of water or snow, as they can help to eliminate the reflection of the sun off these surfaces. They are also useful for blocking reflections from windows in architectural photography.
Shoot in Raw
If you’re serious about photography, you need to start shooting in Raw. Raw files contain all of the data captured by your camera’s sensor, giving you a lot more control over the final image.
With a Raw file, you can adjust things like white balance, exposure, and sharpness without damaging the underlying image. And if you make a mistake, you can always go back and start over.
So, if you’re ready to take your photography to the next level, it’s time to start shooting in Raw.
Show Scale in your Landscape Photos
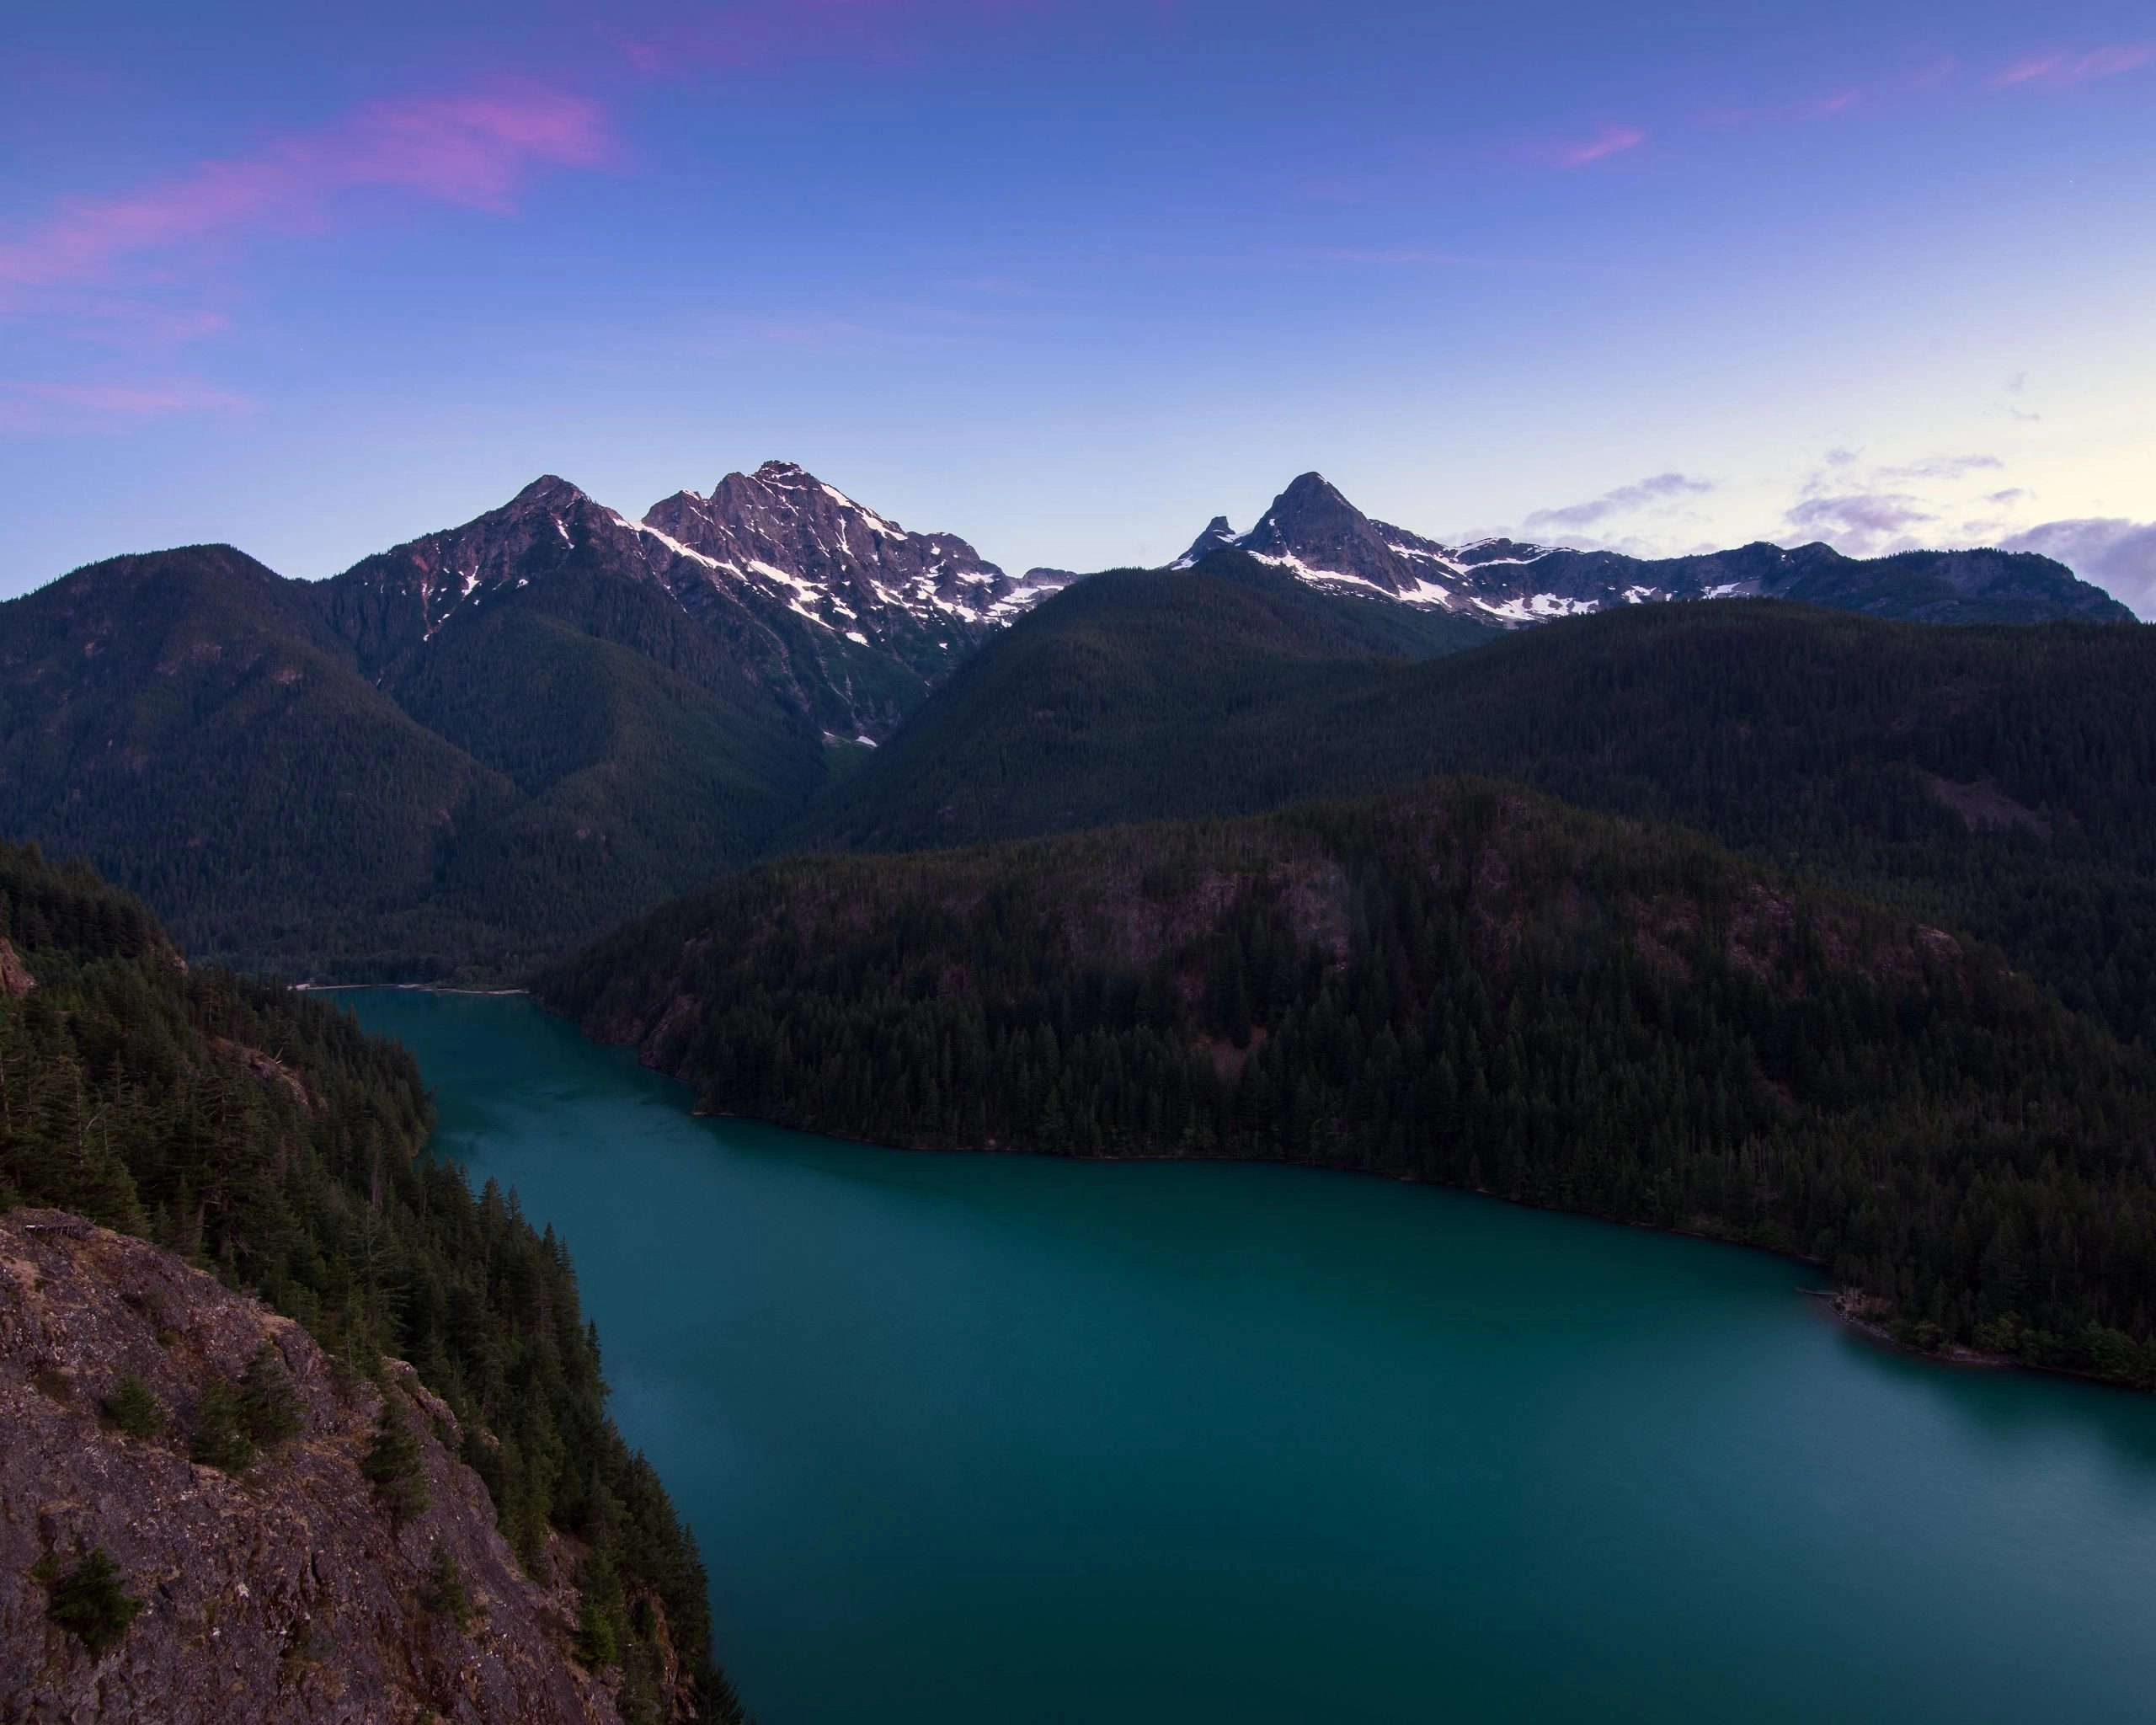
Showing scale in your landscape photos can give viewers a sense of the size and scope of the scene. There are a few different ways to do this.
One is to include a recognizable object in the foreground, such as a person or a building. This will give viewers something to compare the rest of the scene to.
Another option is to use a long focal length to compress the scene and make distant objects appear closer. This can help to emphasize the vastness of the landscape.
Finally, making use of leading lines can also help to show scale by drawing the eye from the foreground to the background. By keeping these techniques in mind, you can give your audience a true sense of the scale of your landscape photos.
Subject Matter is Important in Landscape Photography
One of the most important aspects of landscape photography is the scenery. The right scenery can make or break a photo, and it’s important to take the time to find a location that offers a dramatic view.
Once you’ve found the perfect spot, it’s important to pay attention to the details. The sun, the clouds, the leaves on the trees, and even the smallest flowers can all add to the beauty of a landscape photo.
By taking the time to find the perfect scenery, you’ll be able to create stunning landscape photos that will impress everyone who sees them.
Go Back Until You Get the Shot
Every photographer knows that the best shots are often the ones that take a little bit of effort to get. Whether it’s hiking in to get a better angle or lying on the ground to get a low perspective, sometimes you have to go the extra mile to get the perfect shot.
And while it can be tempting to give up when you don’t get the shot you want right away, it’s important to remember that persistence often pays off.
So next time you’re out photographing, don’t be afraid to go back until you get the shot you really want. It is rare for the weather to completely cooperate and there is always a better shot waiting around the corner.
Pixels are Cheap, Shoot More Photos
In the world of digital photography, one of the most important things to remember is that pixels are cheap.
In other words, don’t be afraid to shoot more photos than you think you need. With film cameras, every shot costs money, so photographers had to be more selective about what they photographed. But with digital cameras, the cost of each photo is effectively zero.
As a result, it’s often better to err on the side of taking too many photos rather than too few. That way, you’re sure to capture the perfect shot, rather than coming up empty-handed.
So next time you’re out with your camera, don’t be afraid to click away. Pixels are cheap, so shoot more!
Ask Location Advice from the Locals
If you’re planning a photo trip and want to make the most of your time, one of the best things you can do is ask for travel advice from the locals. They know all the best places to go and can help you find the best places to photograph.
You’ll be surprised at how quickly a rapport will develop and how much insight they’ll be able to provide about the places you’re interested in visiting. Next time you’re planning a trip, don’t forget to seek out the advice of those who know the area best. You won’t regret it!
Related: The Absolute Best: Photoshoot Locations Toronto
Buy a Guide Book
A travel guidebook can be a great way to learn about your destination before you even arrive. By reading up on the history, culture, and attractions of your chosen location, you can get a better sense of what to expect and how to make the most of your trip.
Guide books can also be a useful resource while you’re traveling, providing recommendations for scenic locations, hotels, and travel advice. And if you’re planning on doing some sightseeing, many guide books include detailed maps and photos.
Whether you’re an experienced traveler or taking your first trip abroad, a guidebook can be a valuable asset. So why not pick one up before your next adventure?
Become an Explorer
Anyone can be an explorer, no matter how old they are or where they come from. All it takes is a sense of curiosity and a willingness to step outside your comfort zone.
The world is full of opportunities for photography, and there’s no need to travel to the ends of the earth to find them. Sometimes, the most exotic destinations are right in your own backyard.
So, get out there and start exploring! Who knows what you’ll discover?
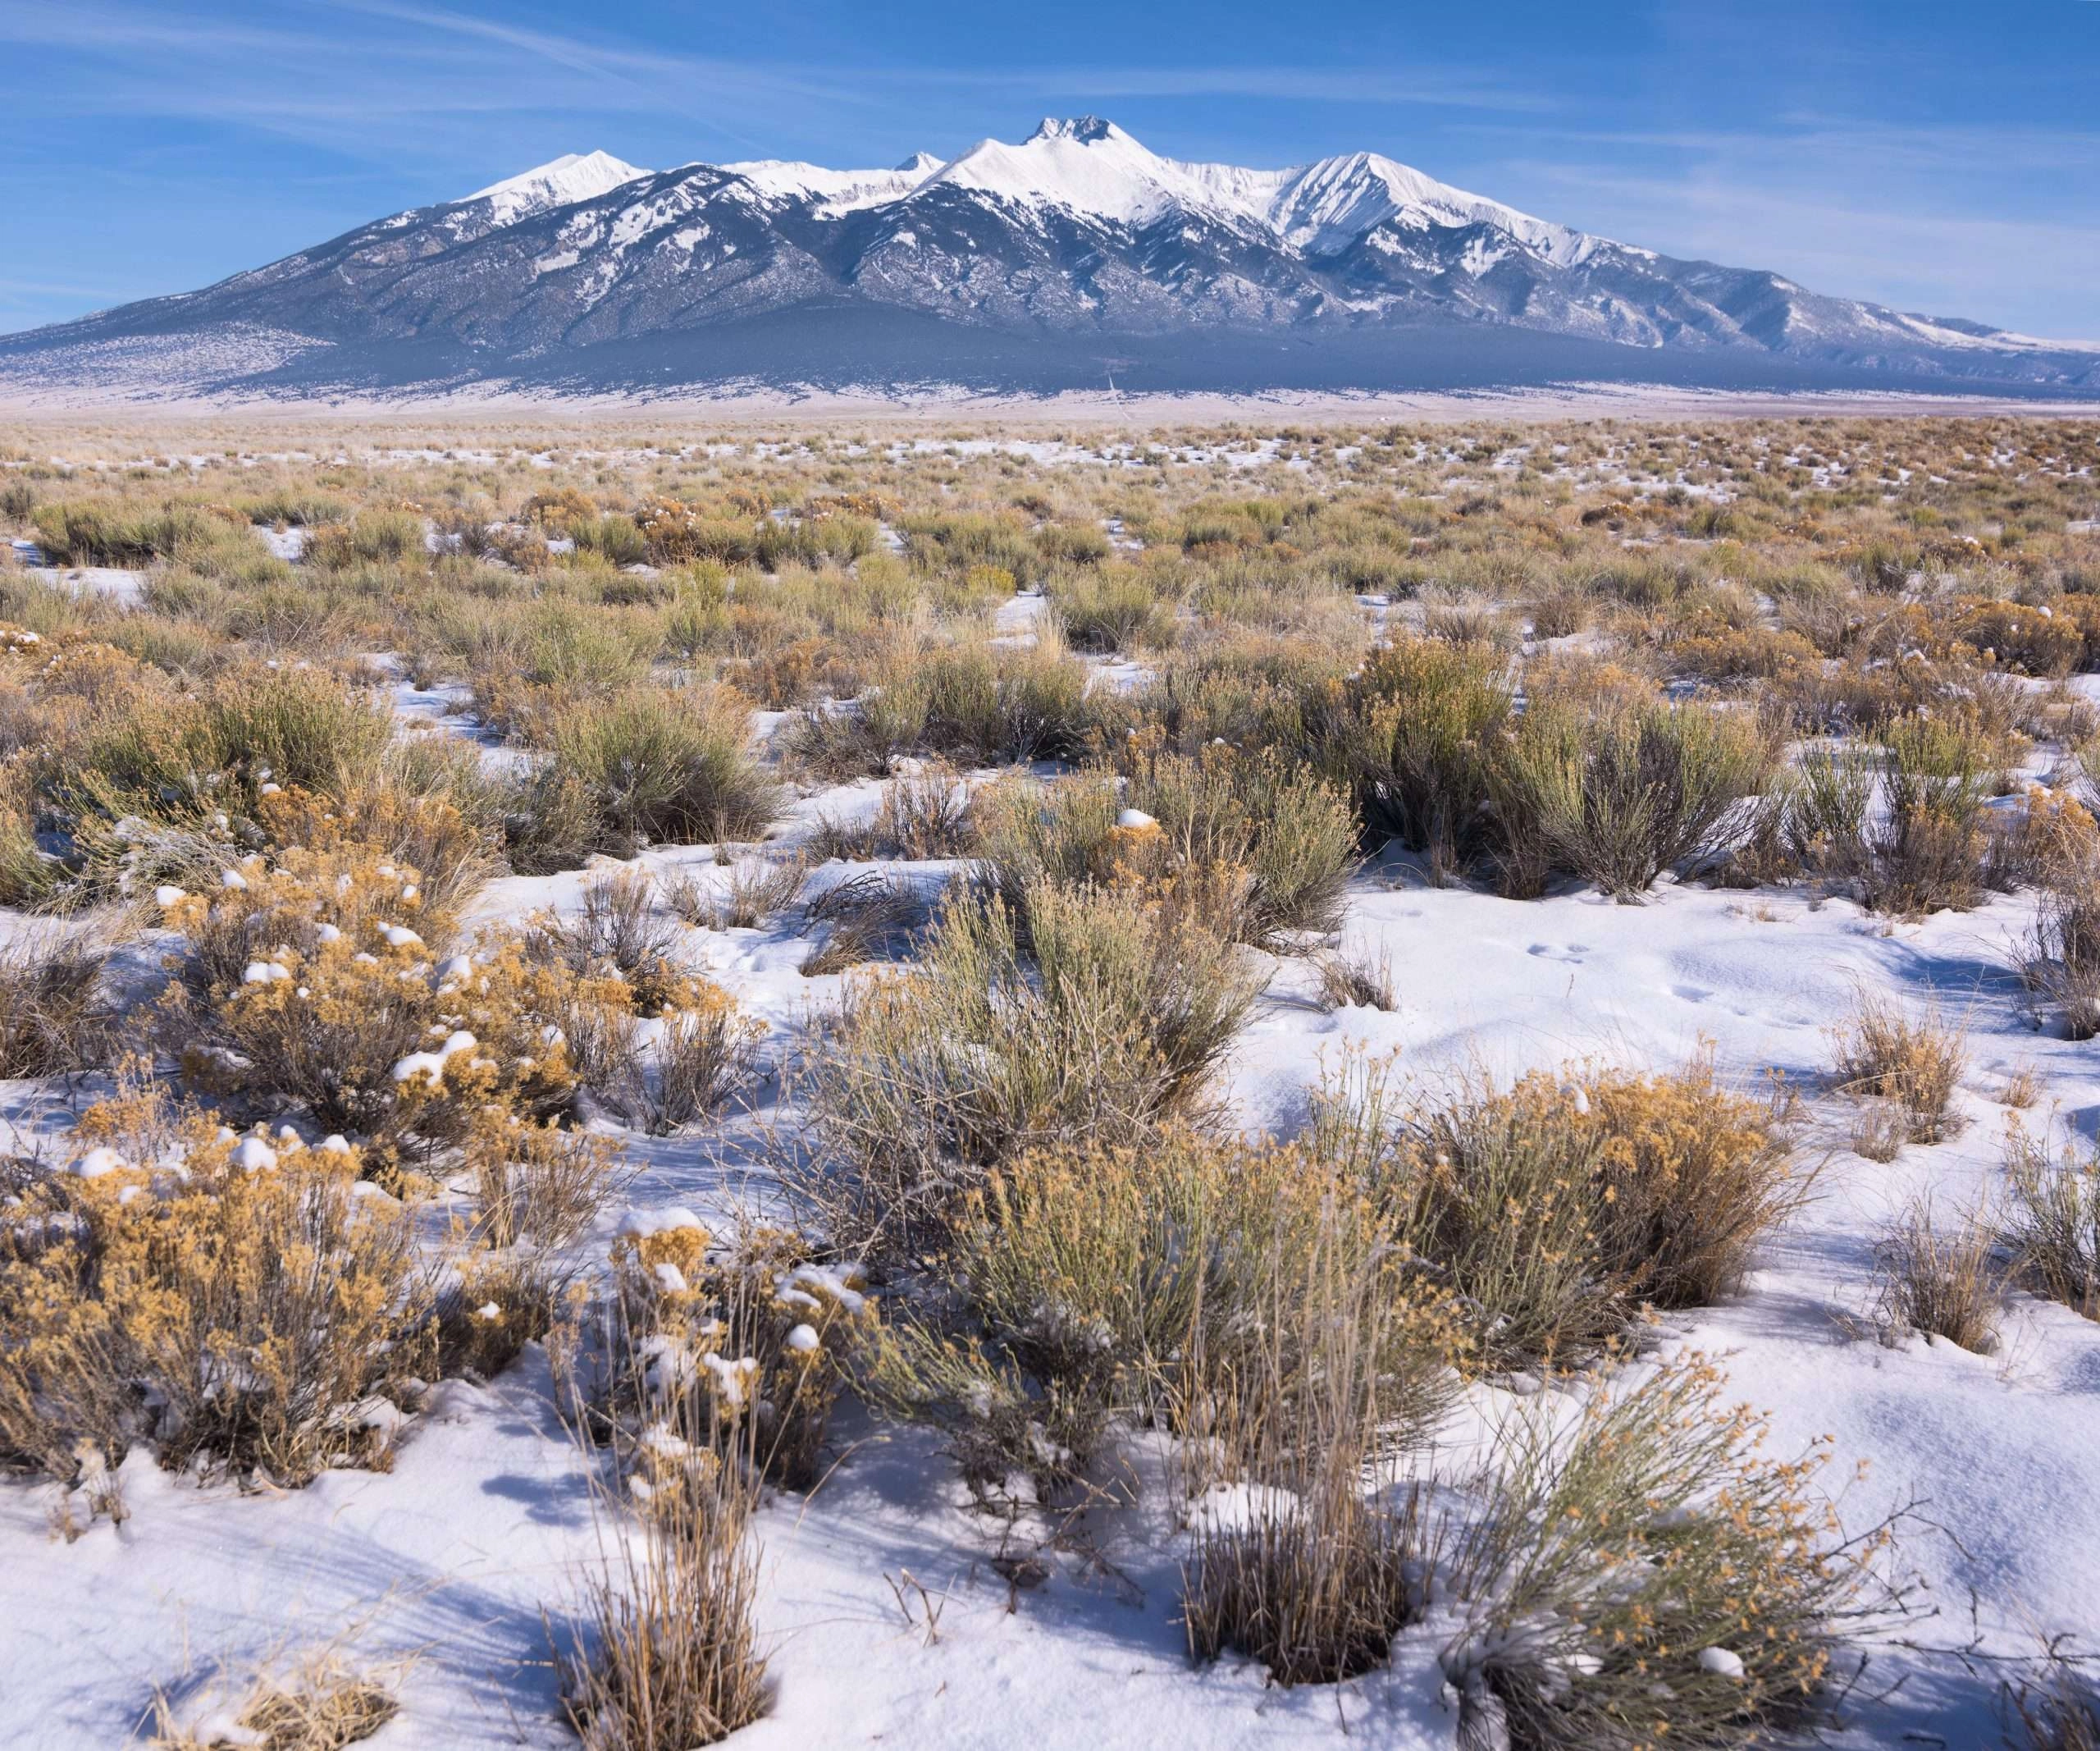
Go Places where No-one Else Does
There’s something to be said for following the beaten path. After all, popular travel destinations are popular for a reason.
But there’s also something to be said for straying from the path and discovering somewhere new.
After all, venturing off the beaten path can often lead to some of the most rewarding travel experiences. It allows you to see a place through the eyes of a local, rather than through the lens of a tourist. And it often leads to some pretty amazing stories that you can tell your friends back home.
So next time you’re planning a trip, consider going somewhere that not many people have been before. You might just find that it’s the best decision you ever make.
Outdoor Safety
When traveling, it’s important to be aware of your surroundings. It is vitally important to take precautions to ensure your own safety. Don’t expect help to always be around the corner because it might not be when you need it.
For example, if you’re hiking in an unfamiliar area, it’s a good idea to let someone know your itinerary and the estimated time of return.
It’s also important to be aware of the local wildlife and take steps to avoid interactions with animals that could be dangerous. When camping, make sure to keep food stored properly to avoid attracting unwanted visitors, and always have a flashlight on hand in case you find yourself in the dark.
When out on a hike always carry water and food. Nobody plans to get lost, but it happens more than you would think.
By taking a few simple precautions, you can help ensure a safe and enjoyable trip.
What is the Best Camera for Landscape Photography?
When it comes to choosing a camera for landscape photography, there are a few things you should keep in mind. First, you will want to choose a camera that is high quality and rugged. A camera that can survive the elements.
You will also want to choose a camera with a high megapixel count. This will give you the ability to print large prints or crop your photos without losing too much detail. Lastly, you may want to consider investing in a full-frame camera. While they are more expensive, they offer better image quality and low light performance.
What is the Best Lens for Landscape Photography?
When it comes to landscape photography, there is no one-size-fits-all lens.
The best lens for you will depend on the type of photography you’re interested in and the equipment you already have. For example, if you’re just getting started in landscape photography, a kit lens (the all-purpose lens that comes with your camera) may be all you need.
In general, wide-angle lenses are good for landscape photography because they allow you to capture a large area in a single frame.
However, there are also telephoto lenses that can be used for landscape photography. These lenses have a narrower field of view but can be used to take closer shots of distant subjects.
Ultimately, the best lens for landscape photography is the one that meets your specific needs and preferences.
Be Intentional, Plan Your Photographs
Plan out your photographs and take time to create your images. It’s really easy to get carried away and take lots of shots with no real purpose.
Take your time. Aim to get just one really great photograph.
Finally, don’t forget to focus on the details. Even the small things can make a big impact in a landscape photo. Look for interesting textures, patterns, and colors that you can include in your shots.
By being intentional, you will be able to create more unique and memorable photos.
Thanks!
I hope these tips have inspired you to get out there and start taking some amazing landscape photos! Remember to have fun and experiment, and you’re sure to end up with some stunning shots.
Do you have any other tips for taking great landscape photos? Share them with us in the comments below!





0 Comments